Before the ground freezes, and after the stocks have turned crunchy and golden is the time lift and store our Jerusalem Artichoke tubers. These starchy little wonders will liven up your meals through the dark days of January and February as well as add an element of beauty during the growing season, but you already know that if your now reading about how to save the tubers for next season!
Similar to what we look for when harvesting Garlic for seed, you are again looking to save and replant prime specimens. Those that we plant should be those with the positive traits we want to encourage in order to improve our seed stock and harvest year on year.
With Jerusalem Artichoke, this means setting aside those golfball size tubers, that are knob and blemish free. The should not show any sign of blight, insect damage or disease. One you’ve set aside your seed stock you’ll need to store it before it’s time to go in the ground again. Always try and store a small percentage more than you think you are likely to need as with planting there will always be the chance of failure in a few.
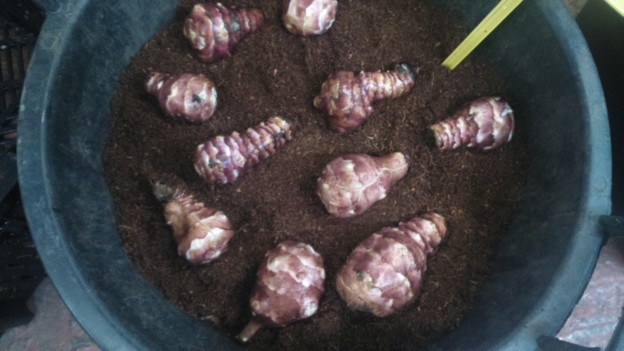
For the best chance of a successful storage, you’ll want a container big enough so you can layer the tubers in without them touching each other. I begin with a layer of moist coir approximately 3cm thick and position my first layer of tubers being careful to ensure a good amount of room around them so that they are not going to shift and touch each other. This is very important. By isolating each tuber you are minimizing the risk of contamination. A rotting tuber which contacts another with expedite the rotting process in the next.
After the first layer I cover it with a thick layer of coir, approximately another 3cm to avoid vertical contact between the layers. This process is repeated until all the seed tubers are bedded into and covered with coir. The whole bucket then sits in the ambient storage until planting begins again in spring.