Tag Archives: fertilizer

IMG_8973

Closed loop systems and why they’re important

In the last post I mentioned the term “closed loop” in referring to how I would like our farm to run. A closed loop system is one that is self sustaining, ie nothing needs to be brought in from the outside in order for it to continue. This self perpetuation is the same principle people often refer to as “self sufficiency” and you can find versions of it in use in places that practice permaculture, in forest gardening and many organic farms.

Nature itself is a closed loop. She needs nothing from us to go on being self sufficient. Unfortunately, we humans usually need and want elements in addition to what is naturally occurring.  To meet our own needs initial investment or installation of outside elements is necessary.  For us, that means vegetable beds, chickens, turkey, bees and eventually a micro flock of sheep.  Although the addition of a these elements may not sound so large a change, they are. Fortunately by doing each step slowly and in turn and with some forethought it is possible to make each addition into a closed loop so that after the initial investment the cost is one of labor.

Even the addition of vegetable beds impacts the land. Everything we grow does so by withdrawing of nutrients from the soil. It is not enough to simply decide to grow your own food. While doing so is good, it’s not self sufficiency. To be self sufficient you must at the very least consider and replenish those lost nutrients. Best practice in this would be to aim to input more nutrient and organic matter into your growing beds than you take out. Doing so would increase on the soil life incrementally each year so that ultimately the land is healthier year on year. Makes sense, right? I think so.

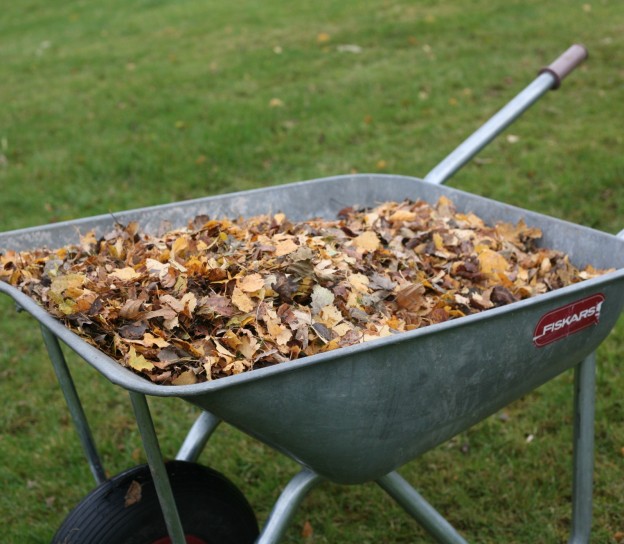
In our case we began the replenishing cycle this autumn before the veg beds had even been dug or the first seeds even planted. In fact, my very first project here when I arrived in October was the construction of a pair of compost bins and a leaf litter pile. Composting on site is an easy first step to creating a closed loop for vegetable production. Leaf litter piles, which eventually rot down to what is refereed to as “leaf mold” is an excellent addition to soil for the retention of moisture. Our land is sandy loam, with a higher percentage of sand than loam,  so anything we can do to promote retention of water for our growing veg is worthwhile.

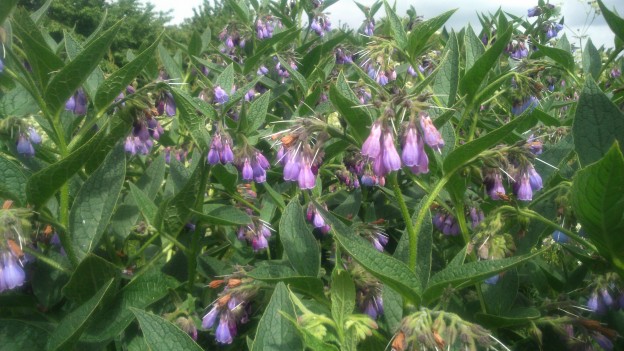
One of the helpers I will be introducing into the farm life cycle will be the perennial Bocking 14 Comfrey a well known plant famed for it’s fertilizing properties in the organic world. Comfrey is such an important player in the plans for our farm that I’m going to write an in depth piece on it this year, but I digress.

Creating a closed loop for the vegetable production is essentially as simple as ensuring all of our vegetative growth from grass clippings and twigs to weeds and eventually  the plants themselves gets recycled via compost. In the spirit of returning back more to the soil than what we have taken out, we will be adding Comfrey leaves, nettles and leaf moud.  Overtime this cycle increases the fertility of our land, which increases it’s productivity allowing not only us to thrive but for the farm itself to do so as an ecosystem. Happily the closed loop system can be implemented with our livestock and to most every aspect  of our food system on the farm.
oct-27-2016

Planning for 2017 and beyond

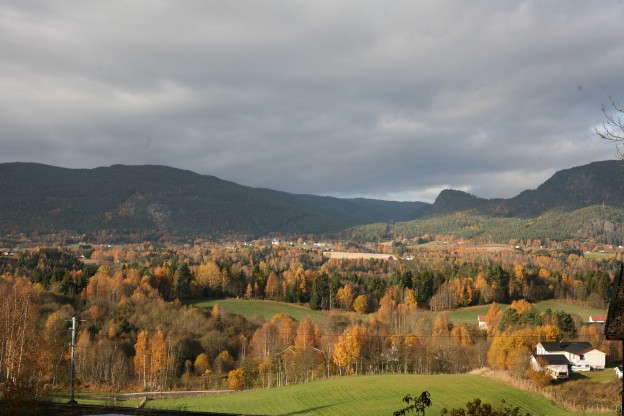
It’s 8am and the sun is just beginning to peak over the far slope of the valley. The Norwegian has been in the barn for just over an hour and has been back to the house to ask me to come see the progress of “my” task for the day which he has had to take over. I’ve spent the last two days raking the abundance of Ash leaves into piles. There’s still a lot of Birch leaves I want to collect as well. I’m thinking ahead, as farmers must, about the soil’s future health.

You can call yourself any sort of farmer you want, but in the end, long term sustainable success means we are all the same. We are all soil builders. For us, that means taking advantage of the gifts mother nature gives us in the Autumn. Mulch, compost and leaf mold feature heavily in my plans this week. The leaves have immediate, short term and long term benefit: mulching around our currant bushes will help them this winter, adding leaves to the compost is helping build critical mass needed for active winter composting and the leaf mold bins will help us create more friable soil in two years time when it’s broken down. It’s three gifts in one and I want them all.

Unfortunately, three weeks ago I played “hero” on the river and stopped a 60 ft steel narrow boat free floating down the river in flood. This resulted in me tearing the muscles in my back on both sides. It laid me out completely for a week. The doctor wrote me off for 6 weeks upon seeing me. Life doesn’t stop however, and I moved to the farm just 72hrs ago. Suffice to say, 52kgs of luggage and a cat did my recovery no good!

I honestly thought raking leaves was an easy enough task. Perhaps it was. Bending down to cut the hardware cloth to make a leaf cage was too much, so I’ve been sent to the cabin to rest. I don’t think he minds, but I think he’s worried that I may not recover. To ruin my health just at the beginning of this great adventure would be devastating. I’m trying not to think about that. I hate feeling I’m not pulling my weight, but he is right, there is only one way to recover; rest.


DSC_0305

Easy DIY organic fertilizer

Here in the United Kingdom, along the rivers and in marsh lands, something nearly magical grows, Symphytum officinale. In may areas it is so prolific there are actual “harvesting days” where the nature reserves encourage gardeners to come and cut what they need.

First introduced to to North America in  1954, you may know it as Quaker’s Comfrey, Knitbone or even as a weed. Regardless of what you call it, it’s indispensable.  Any gardener who wants to fertilize their garden, especially fruiting plants or seeding crops, naturally and healthily should know about and utilize this amazing plant.

It’s a powerful ally of the organic gardener.

What makes this plant exceptional are the levels of nitrogen and potassium it releases upon decomposition.

Comfrey is what you call a “dynamic accumulator.” It has a large turnip shaped tap root that mines up nutrients and minerals from deep within the soil which it brings up into it’s leaves. Because it does this much deeper than most plant roots reach, the surrounding vegetation isn’t compromised and previously unreachable nutrients are made accessible . Harvesting and composting its leaves releases the nitrogen and potassium making them accessible to other plants and the rest of your garden. Quick growing, Comfrey can be harvested boosting the minerals available to your garden organically several times per year eliminating the need to purchase chemical based tomato or plant foods.

Harvesting is easy.  Just before the plant flowers is when you’ll get the most benefit, but around that time is also quite good. Sheer stems about 15cm above ground. Keep the leaves, flowers if you wish and discard the stem. Harvests can occur safely when the plant reaches approximately 60cm,  in spring until early autumn without risk to to the plant. In autumn it’s important to leave pant to grow and rejuvenate it’s stores for overwintering.

Once you have them it’s up to you how you use them. You can choose to make a tea, like the one in our nettle article which takes 4 to 5 weeks,  add them as a two inch mulch around fruiting plants and they will break down naturally or wilt them for two to three days and simply dig it in! Unlike other high nitrogen content sources Comfrey doesn’t rob nitrogen from the soil because it’s C:N ratio is lower than well rotted compost.

If you can’t find wild Comfrey, the cultivated sterile variety Bocking 14 is often available through seed suppliers. If you purchase your own, let it grow one full year before beginning to harvest to allow it a firmly establish. Never dig up and plant a non sterile, wild plant, it will take over your garden quickly. Bocking 14 will grow quite large and is best separated and shared with other gardeners after a few years growth.

This post was originally posted on EatinsCanada

nettles and tea

What’s not to love about nettles?

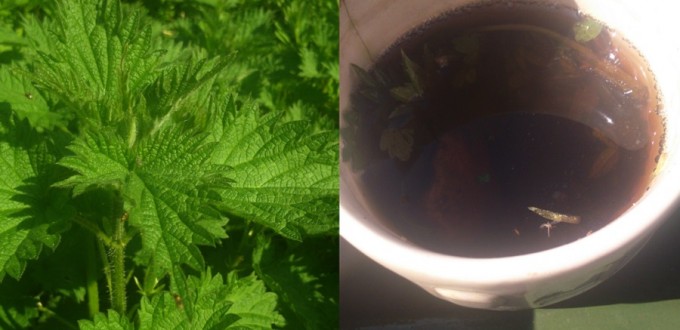
Stinging Nettles are terrible, brush up against them and you instantly know. Itchy red bumps that stay irritating for what seems like forever. We’ve all been there. Stings aside however, you might be surprised to hear that this hardy nuisance is a bit of a celebrity in the world of organic gardening.

Nettles offer the organic gardener a triple benefit.

One of the first greens to shoot up in the early spring, young tops are a much welcomed first green for our beneficial insect predators such as the Ladybug. .

Blanched quickly they’re fantastic in risotto, and steeped, they make a rejuvenating tea.

The third reason organic gardeners allow the nettle to remain is to make organic fertilizer. Nettles have a root structure that allows them to pull mineral nutrients up from much deeper depths of soil than many plants. The nutrients are then in the plants stem and leaves. Left to their own when the plant dies back in winter the nutrients are then available in the compost. Fortunately, we don’t have to rely on the natural cycle of things!

The benefits of Nettle tea is available the whole of the growing season and it’s really simple to make. There are two methods you can use a quick one that gives a bit of benefit, or a longer process that really packs a nutrient punch (and a pretty pungent smell!) Use which ever suits you, be sure to wear protective clothing to avoid the “sting.”

Quick Method: Pick the nettles and boil the leaves and stems for 30min. Let cool, strain, and you’re ready to use. The liquid should be the colour of weak black tea.

The Long Method: Pick the nettles, bruise the leaves and stems and pack in your container. Weigh the greens down with a brick or some rock and cover with water. Let it sit submerged for up to 3 weeks, it will really start to smell. The longer the better. Then use in a 1:10 ratio on your plant soil.

*This article was originally published on a fabulous website called EatinsCanada.