Category Archives: garden

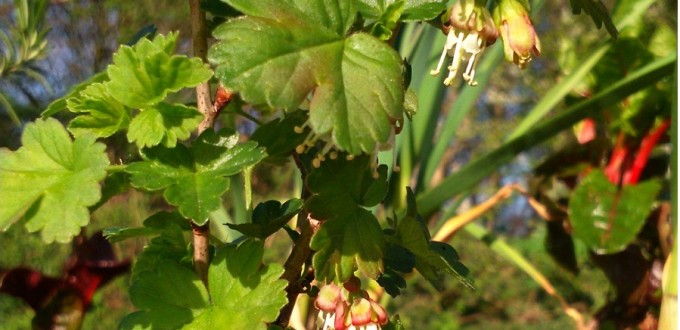
The Wocesterberry, a beautiful yet forgotten treasure of the fruit world.

Fashion in gardening

Fashion trends are inescapable. Ever present in our clothing choices and in our culinary exploits,  perhaps it was naive of me, but I for one did not anticipate that the humble garden  was also subject.

Last fall I was part of a team that pruned a long standing allotment. Over the years, various stewards of the space had planted and grown many bushes, fruits and flowers  and we were there to trim the growth back into a manageable and healthy state. It was that afternoon that I was introduced to the Worcesterberry tree. Being February, the squat little bushy tree was remarkably undistinguished. Whist pruning I found its thorns, but aside from making my task slightly more tricky, I didn’t give it much notice. Afterwards, curious about a tree I’d never encountered before, I asked around. Eventually, a vague description of “like a gooseberry crossed with a blackberry” became the consensus. I decided to plant one of the clippings to see for myself.

A year on and after much research, it seems Worcesterberry is considered it’s own species. Once prized as a valuable “guardian of the plot” owning to it’s dense thorny growth, it has fallen out of favour with the advent of easier to harvest thorn-less varieties.  While I do understand the logic, I also feel it’s a shame. To date I have only found one woman who still grew Worcesterberry in her garden and she admitted they had been her mothers doing over 40 years previous.

This year my little Worcesterberry  pruning has flowered for the first time. It’s quite remarkable and beautiful. I do not want it to be lost and forgotten because people found it “difficult”.

Losing any species be it plant or animal isn’t a good thing. Our world’s species, even the thorny ones, need guardians. I challenge you, go out find a forgotten out of favour species and become it’s champion. There are lots out there.

Perhaps, when my lovely Worcesterberry is too big for my roof I will cruise out of London and plant it in the wild.

*This article was originally published on a fabulous website called EatinsCanada.
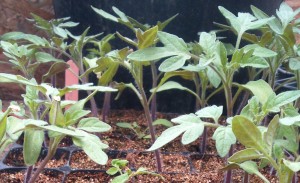
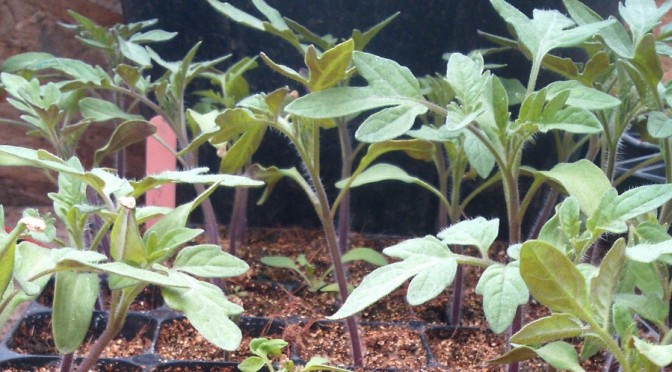
These tomatoes have a bluish tinge to their leaves indicating they've depleted the nutrients in their potting soil.

Potting on Tomatoes

A month ago myself and several volunteers helped plant hundreds of Tumbling Tom and Golden Queen tomato seeds at Organic Lea. They will be both for the summer production on site and for the annual plant sales. For anyone who has ever eaten a perfectly ripe home grown tomato, it will come as no surprise that tomatoes are by far the most popular plants for home gardens in the UK.

These tomatoes have a bluish tinge to their leaves indicating they've depleted the nutrients in their potting soil.

These tomatoes have a bluish tinge to their leaves indicating they’ve depleted the nutrients in their potting soil.

The month old seedlings have really thrived in the three week warm spell we’ve been having and it was evident by the blueish tinge on their leaves that the nutrient in the seed compost was exhausted. It’s too early to put them in the ground, so potting on, into more nutrient rich potting compost was the only option. In order to avoid “leggy plants” each seedling is planted into the soil up to the first pair of leaves.

There’s really no excuse not to grow at least one tomato plant. Perhaps more than any other, tomatoes have a wealth of varieties to suit your available space, even a height restricted roof garden like mine has more than one option.

For three years now, I’ve planted heritage dwarf variety Tiny Tim (which grows to 30cm) and had exceptional results. They’ve got some lovely attributes aside from their stature. Firstly, for a tomato they’re remarkably un- fussy. These hardy plants do well in both sun and shade which works well since I am on the move. Secondly, despite their small size they really pack a huge sweet tomato flavour punch, meaning four or five picked and thrown into any dish makes an impact.

This year, just to try something different I’m planting Tumbling Toms from the plant sales.

Regardless of which variety you choose, your plant’s fruit will have flavours that far surpass their store bought brethren. With tomatoes we’re spoilt for choice and justly rewarded.

*This article was originally published on a fabulous website called EatinsCanada.
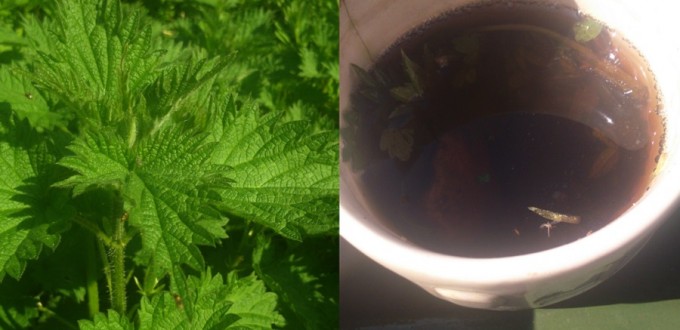
nettles and tea

What’s not to love about nettles?

Stinging Nettles are terrible, brush up against them and you instantly know. Itchy red bumps that stay irritating for what seems like forever. We’ve all been there. Stings aside however, you might be surprised to hear that this hardy nuisance is a bit of a celebrity in the world of organic gardening.

Nettles offer the organic gardener a triple benefit.

One of the first greens to shoot up in the early spring, young tops are a much welcomed first green for our beneficial insect predators such as the Ladybug. .

Blanched quickly they’re fantastic in risotto, and steeped, they make a rejuvenating tea.

The third reason organic gardeners allow the nettle to remain is to make organic fertilizer. Nettles have a root structure that allows them to pull mineral nutrients up from much deeper depths of soil than many plants. The nutrients are then in the plants stem and leaves. Left to their own when the plant dies back in winter the nutrients are then available in the compost. Fortunately, we don’t have to rely on the natural cycle of things!

The benefits of Nettle tea is available the whole of the growing season and it’s really simple to make. There are two methods you can use a quick one that gives a bit of benefit, or a longer process that really packs a nutrient punch (and a pretty pungent smell!) Use which ever suits you, be sure to wear protective clothing to avoid the “sting.”

Quick Method: Pick the nettles and boil the leaves and stems for 30min. Let cool, strain, and you’re ready to use. The liquid should be the colour of weak black tea.

The Long Method: Pick the nettles, bruise the leaves and stems and pack in your container. Weigh the greens down with a brick or some rock and cover with water. Let it sit submerged for up to 3 weeks, it will really start to smell. The longer the better. Then use in a 1:10 ratio on your plant soil.

*This article was originally published on a fabulous website called EatinsCanada.